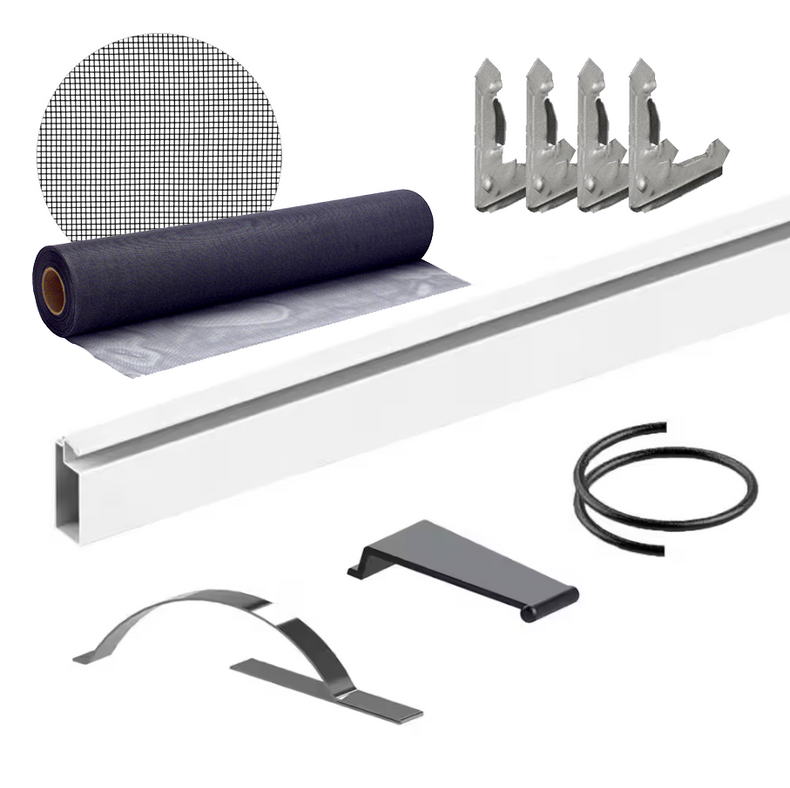
When it comes to home improvement on a budget, sometimes the best solution is to work with what you already have. If your window screen frame is in good condition but the screen itself has seen better days, replacing just the screen can be a cost-effective and straightforward DIY project. In this guide, we'll walk you through the steps of replacing the screen on an existing window screen frame, ensuring a refreshed look without breaking the bank.
Materials Needed:
- Roll of your chosen new screen
- Package of correct-sized spline (.150 for 5/16" frame, .165 for 7/16" frame)
- Spline roller tool
- Utility knife
- Heavy-duty masking tape
- Heavy-duty scissors
Step-by-Step Guide:
- Prepare the Window Screen Frame: Place your existing window screen frame on a flat surface. Use heavy-duty masking tape to secure the outside edges of the frame to the flat surface. Be cautious not to cover the spline channel or groove with tape, as you'll need access to these areas during the replacement process.
- Lay the New Screen Over the Frame: Lay the new screen over the frame, aligning the edges of the screen with two adjacent sides of the frame. Trim the edges straight if necessary.
- Secure the Screen to the Frame: For fiberglass and aluminum screens, tape the new screen to the frame on the two sides adjacent to the ones taped in the previous step. Avoid taping over the spline channel or groove. If you're working with fiberglass screen, use a spline roller tool to roll in the spline and screen on the sides opposite the taped edges. For aluminum screen, gently roll the screen into the channel grooves using the smooth end of the spline roller tool. Then, use the grooved end to roll the spline into the frame, ensuring it goes all the way down into the channel.
- Corner Cuts: If you're dealing with fiberglass screen, cut the excess screen at a 45-degree angle on the two sides opposite the taped edges at the corners. This helps avoid bunching. Skip this step if you're working with aluminum screen.
- Repeat the Process: Remove the masking tape and repeat steps 3 and 4 for the remaining sides of the frame. Take your time to ensure the screen is securely in place.
- Trim Excess Spline and Screen: Use a utility knife to carefully trim any excess spline and screen from the frame. Exercise caution to avoid accidentally cutting the newly installed screen inside the spline.
Conclusion:
With a little time, effort, and attention to detail, you can breathe new life into your window screens without splurging on an entirely new set. This budget-friendly DIY project not only saves you money but also allows you to enjoy the benefits of refreshed window screens. If you have any questions or need assistance, feel free to reach out to Window Screen Pros—we're here to help!

